/body> >

Monday 24 October 2016

Homemade Khoya / Mava Recipe


Khoya also known as mava is coagulated milk solids. It forms the base for wide variety of Indian sweets like Gulab Jamun , Pedha , Gajar ka Halwa , Gujiya , Barfi / Fudge etc . It is also used in many curries and savories. Khoya adds a rich creamy texture and perfect taste to the sweets it is been added. Traditionally it is obtained by reducing whole milk in an open pan for long hours with continuous stirring until the milk is reduced to 1/5 of its original volume. The coagulated milk solids left behind are Khoya. It can also be made in comparatively short time using milk powder but the khoya so obtained does not match the taste of the one obtained by traditional way.

Khoya is easily available in market but during festive season as the demand of the milk products increases, there is always a risk of adulteration associated with it. To be on a safer side, I prefer to make khoya at home. I do agree the method is time consuming and cumbersome but the end results are worth the efforts.


Video for Homemade Khoya


1 liter of full cream milk yields approx. 240 grams of khoya .The quantity of khoya obtained may vary with the quality of milk been used. Usually it takes about 2 hours on a low flame to obtain khoya. But I use a small trick while reducing the milk, which saves almost 1 hour. Trick is to drop a plate or wide bowl in the milk container while it is getting reduced. The plate does not allow the milk to catch the bottom and also does not allow the milk to spill down while boiling. With this benefit, we can reduce the milk while the flame is on medium instead of a low flame, off course with continuous stirring. This reduces a lot of efforts and time. The plate is removed once the milk is reduced to more than half of its quantity. Now the flame is lowered and the milk further cooked to reduce to 1/5 of its volume. 

Cooking Time : 45 minutes to 1 hour.
Ingredients: 1 Liter full cream milk (6% Milk Fat)

Method:
  1. Take milk in a non stick wok or a thick bottom wide pan. Bring the milk to boil.      


    2.  Add a clean plate as shown in the image to the milk container and allow the milk to cook on a medium flame. Stir occasionally at regular intervals. The plate prevents milk from spilling down while it is boiling vigorously.


   3. Once the milk is reduced to more than half its original quantity, remove the plate and reduce the milk further on a low flame.


  4. Scrape the sides of the pan and stir continuously using a wide spatula to prevent the milk from catching the bottom of the pan. 


  5.  After 35-40 minutes , we can see the milk has become thick and creamy. On further cooking we can see bubbles bursting from the bottom of the pan. 


  6.  Heat the milk for 10- 15 minutes more or until it completely thickens to form Khova. For me it took exactly 50 minutes to get 240 grams of Khoya. 


Use this recipe to make homemade khoya and prepare delicious sweets this Diwali.
You can use khoya in the sweet dishes like


Thursday 20 October 2016

Chakli / Crispy Savory Spirals / Diwali Snacks


Hindus across the world celebrate Diwali festival with full zeal and enthusiasm. Diwali falls on the no moon day of Hindu month of Kartika, on this day goddess Lakshmi ( the goddess of good luck, fertility and prosperity) is worshipped. Houses and work places are thoroughly cleaned, renovated and decorated prior to the festival and lit with oil lamps and lanterns in the evening to welcome goddess Lakshmi. Apart from shopping and cleaning, decorating of houses and workplaces, one bigger affair is preparing a scrumptious feast comprising of many sweet and savory snacks for the occasion. These snacks are munched on during the festivity and are distributed to family and friends. Nowadays due to busy schedule, people often end up buying ready-made sweets and savouries from market.


But even today, some Maharashtrians like me cannot compromise on home-made Diwali Faral ( Diwali Faral is the term used for the long list of sweet and savory snacks prepared specially for Diwali festival). We Maharashtrian ladies feel proud to flaunt our faral thali which broadly comprise of traditional sweets like Anarsa(Pastry like sweet made from rice and jaggery ), Pudachya Karanjya (Layered Gujiya), Naralipakatle ladoo( Suji and Coconut ladoo , (Shakkarpare), Kharat Shankarpale( Namakpare), Naralachi barfi(fresh Coconut Fudge), Chiwda , Bhakarwadi ( deep fried spicy spring rolls), Besan Sev, Khavyache Gulab jamun , kalakand and Bhajanichi Chakli.( Click on the highlighted words for the recipe links.)


Chakli is a deep fried savoury snacks which is spiral in shape with a spiked surface. In south India it is called Murukku.  Maharashtrian prepare this chakali with a special flour called as Bhajani which is made by roasting Rice with various lentils like Bengal Gram , Skinned and split black gram ,Split and skinned green gram, coriander and cumin seeds and then grinding it to a powder. This bhajani (flour) is added to spiced boiling water with sesame seeds and some butter. The mixture so obtained is kneaded to a dough, shaped into circular forms using a snacks maker and deep fried.

Though we get ready made chakli bhajni in grocery shops nowadays, i adhere to the traditional method of making this bhajni fresh at home. For me, the chakli made by my mom is the best in the world. I have very fond memories of my childhood when we three siblings used to sit around mumma, wait and watch each step eagerly, as  our all-time favourite Diwali snacks was getting prepared. Can recall my mom moving her wrist so effortlessly while she pressed the chakli batter from the snacks maker to get those perfect round shaped chaklis. Here I am sharing her recipe of chakli from scratch as it is my turn now to recreate such memories for my little one. Dedicating this post to you mumma, tried to replicate your recipe but cannot ever get the taste of your hands..i guess the secret ingredient is your love J


Making perfect chakli needs lots of patience and practise. The temperature of oil needs to be monitored at every stage during a batch while deep frying chakli . If the temperature of oil is low the chakli will start breaking and lose their shape and absorb more oil, if the temperature is high you end up in a non-cooked burnt chakli. I admit that my first attempt of chakli last year was a disaster. But with practise and patience, you get those perfectly shaped and perfectly cooked crispy Chaklis.

Preparation Time: 60 minutes
Cook time: 60 minutes
Serves: Makes around 30 chaklis

Ingredients for Chakli Bhajani( flour)
·         6 cups Rice
·         3 cups split and skinned Bengal gram ( chana dal)
·         1 ½ cups split and skinned Black gram ( dhuli urad dal)
·         ¾ cups split and skinned green gram ( dhuli moong dal)
·         1 cup Coriander seeds( sabut dhaniya)
·         ½ cup Cumin seeds ( Jeera)

For the Chakli dough
·         2 cups Chakli Bhajani (flour)
·         2 cups water
·         2 tbsp. Sesame seeds(Til)
·         1 1/2 tbsp. melted Butter (makhan)
·         1 tbsp. Carom seeds ( ajwain)
·         1 1/2 tbsp. Red chili powder (lal mirch)
·         ½ tsp. Turmeric powder (Haldi)
·         ¼ tsp Asafoetida ( hing)
·         Salt to taste
·         Oil for frying

Method:
1.    Roast all the ingredients for Chakli bhajni individually on a low flame until fragrant. Allow them to cool down and grind to a powder( flour) in a grind mill.
2.    Bring 2 cups of water to a rolling boil in a heavy bottom sauce pan. Add Sesame seeds, melted butter , salt and spices (carom seeds , red chili powder , turmeric powder, Asafoetida). Stir and lower the flame. Add the chakli bhajni . Mix well with a wooden spoon and put off the flame. Cover and leave it aside for at least 30 minutes.


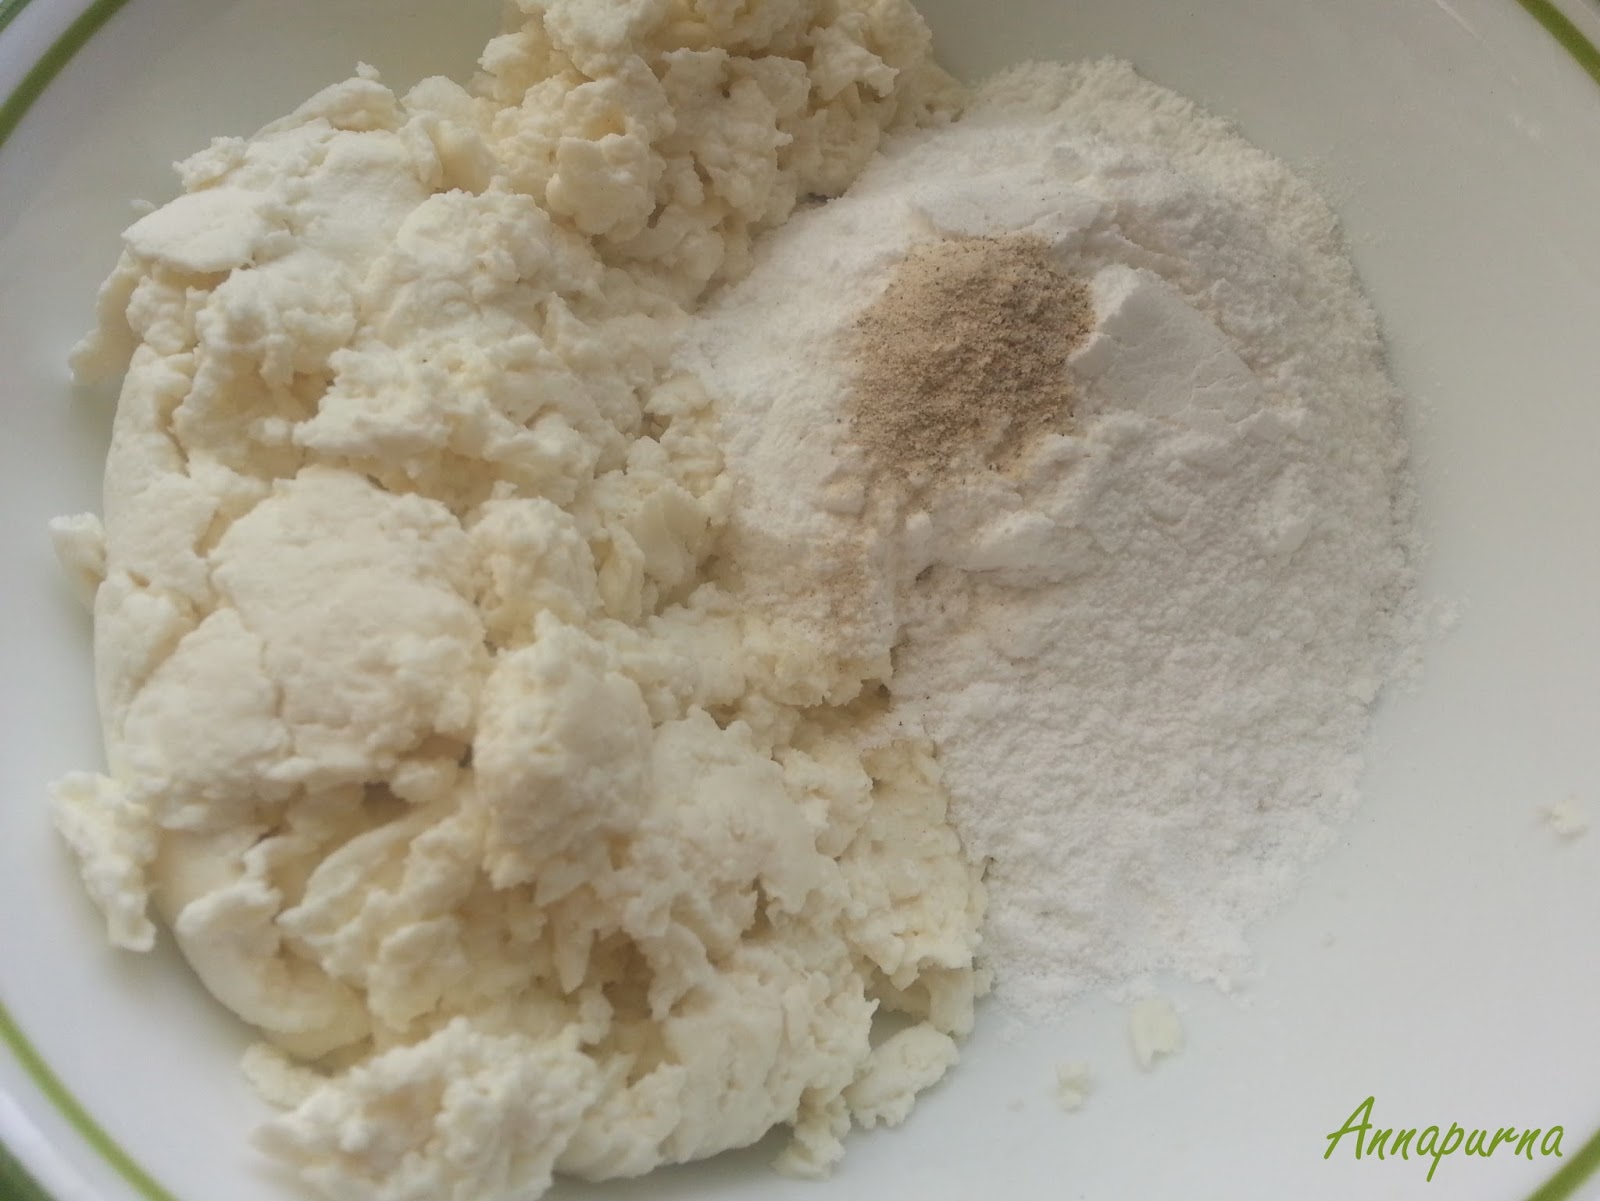
 3.   After 30 minutes, add little water and knead the mixture into a soft dough.


  4.    Fill the dough into a chakli mould or a snacks maker fitted with a disc which has a single star shaped cutout.


   5. Line the working platform or cutting board with a parchment paper and press the snacks maker so that the dough comes out through the star shaped cutout on to the parchment paper.

  6.  Moving the wrist into circular motion, shape the pressed dough into spirals as it comes out. Small spirals with 3 round are easy to handle. Break off the end and press it lightly into the last coil to ensure it does not come apart later. Make 4-5 such spirals, one batch at a time. If you make too many ahead of time they will dry up and the spirals may not hold shape.
 

  7.   Heat sufficient oil in a frying pan till moderately hot. To check the readiness of oil, drop  a small ball of dough into it. If it sizzles and comes up to the surface with tiny bubbles around it, within 2-3 seconds then the oil is just right. If it takes more time, let the oil heat up a little more.

  8.   When the oil is ready, pick up the spirals using a flat spatula, one at a time and slide into the hot oil carefully. Slip in as many spirals as the frying pan can accommodate comfortably without overcrowding.


  9. Once in the oil leave them untouched for 1 minute or so. Then touch the spirals with a slotted ladle, if the spiral has turned hard and the colored changed to golden brown, then flip. Fry on the other side for another 1 minute or so and then remove them using slotted ladle, shake off excess oil and then place them onto a plate lined with an absorbent paper.


  10.    Repeat the process till all the dough has been used up.

  11.    Let the chaklis cool down completely. Store them in an airtight container. Enjoy the crunchy tasty Chaklis with hot cup of tea or coffee.


 I hope you would love to give this recipe a try. Do not forget to give your valuable feed back through likes and comments. 


Sunday 16 October 2016

Bengali Sandesh Recipe


Sandesh is a popular Chena / Cottage Cheese based moist sweet fudge from the Bengali Cuisine. This melt in mouth sweet meat can be made easily at home and requires just two basic ingredients- chena and sugar or jaggery/ Gur. There are many variations to this light and creamy traditional sweet and one can find it in many flavors and textures.


Some Sandesh recipes do not call for cooking the cheena. Cheena is just kneaded well with sugar and is further flavored. Some recipes use Jaggery / Gur over sugar. There may be many variations but you all would agree with me if I say that any Bengali Sandesh is lip smacking and a must try if you are a sweet lover. 


After my successful attempts of Sponge Rasgulla and Mishti Doi, making Sandesh was on my to do list for quite some time. Tried a basic Sandesh recipe with home made fresh chena / Paneer. Have followed the recipe from Foodviva. The recipe calls for cooking the chena and sugar mixture on a low flame. The resultant mixture should resemble a soft moist dough. Care has to be taken while cooking the Chena as over cooking may make it hard and rubbery. Have flavored it with green cardamom.


Though this delicious treats are usually made during festivals like Durga Pooja  and Diwali , they serve as perfect sweets for any festive occasion. Also can be taken during fasts( vrat).


Serves: 8
Preparation Time: 30-35 minutes
Cooking time : 20 minutes

Ingredients:

·        1 liter full cream milk
·        ¼ cup powdered Sugar
·        2 tbsp of Lime juice or vinegar
·        ½ tsp of green Cardamom powder
·        Few sliced Pistachios for garnishing (optional)

Method:

1.     Heat the milk in a wok on medium flame. Once the milk starts boiling, lower the flame and add 2 tbsp of either lime juice or vinegar to it. Stir gently. 


   2.  The milk will curdle and we can see greenish whey separating out.


  3. Pour the curdled milk over a muslin cloth lined colander. Drain the whey and collect it by keeping a bowl or a container below the colander. Use it for kneading dough .


  4.   Gather the sides of the muslin cloth. Chena is collected inside it. Squeeze out whey gently and rinse the chena in running water to get rid of after taste and smell of lemon or vinegar.


  5.   Squeeze out the liquid by gently pressing the collected bundle of chena in the muslin cloth and keep it under some weight for 10-15 minutes or most for 20 minutes. If the chena remains tied or underweight for more than 30 minutes, it will become dry and firm and would be more of a paneer consistency and then the sandesh will be crumbly.


 6. Take out the chena to a plate or wide bowl . Add powdered sugar and green cardamom powder to it. Mix well and knead it like a dough for 3-4  minutes.


  7.  Transfer the prepared mixture to a heavy bottom  non stick wok or pan. Cook the mixture on a low flame for about 5-7 minutes while continuously stirring. The resultant chena and sugar mixture will dry out yet will retain moisture.


8.   Put off the flame and allow the mixture to cool down enough to handle. Knead it well , while it is still warm. Divide the mixture into 8 medium sized portions and make round ball . (If due to some reasons, the chena becomes crumbly and you are not able to shape it,  grind the chena to smooth mixture in a grinder jar , transfer it to a plate and knead well).


 9. Using your palms gently press it to flatten slightly. For garnishing, place sliced Pistachio on the center of each Sandesh and press it lightly with your thumb. 1.     Refrigerate the Sandesh at least for 1-2 hours before serving. Sandesh tastes best when served chilled. Consume it within 2 days


 I hope you would love to give this delectable sweet recipe a try. Do not forget to give your valuable feed back.

For more Chhena based sweets , do check out my posts on


poonambachhav.blogspot.com